From Pants to Smock Dress
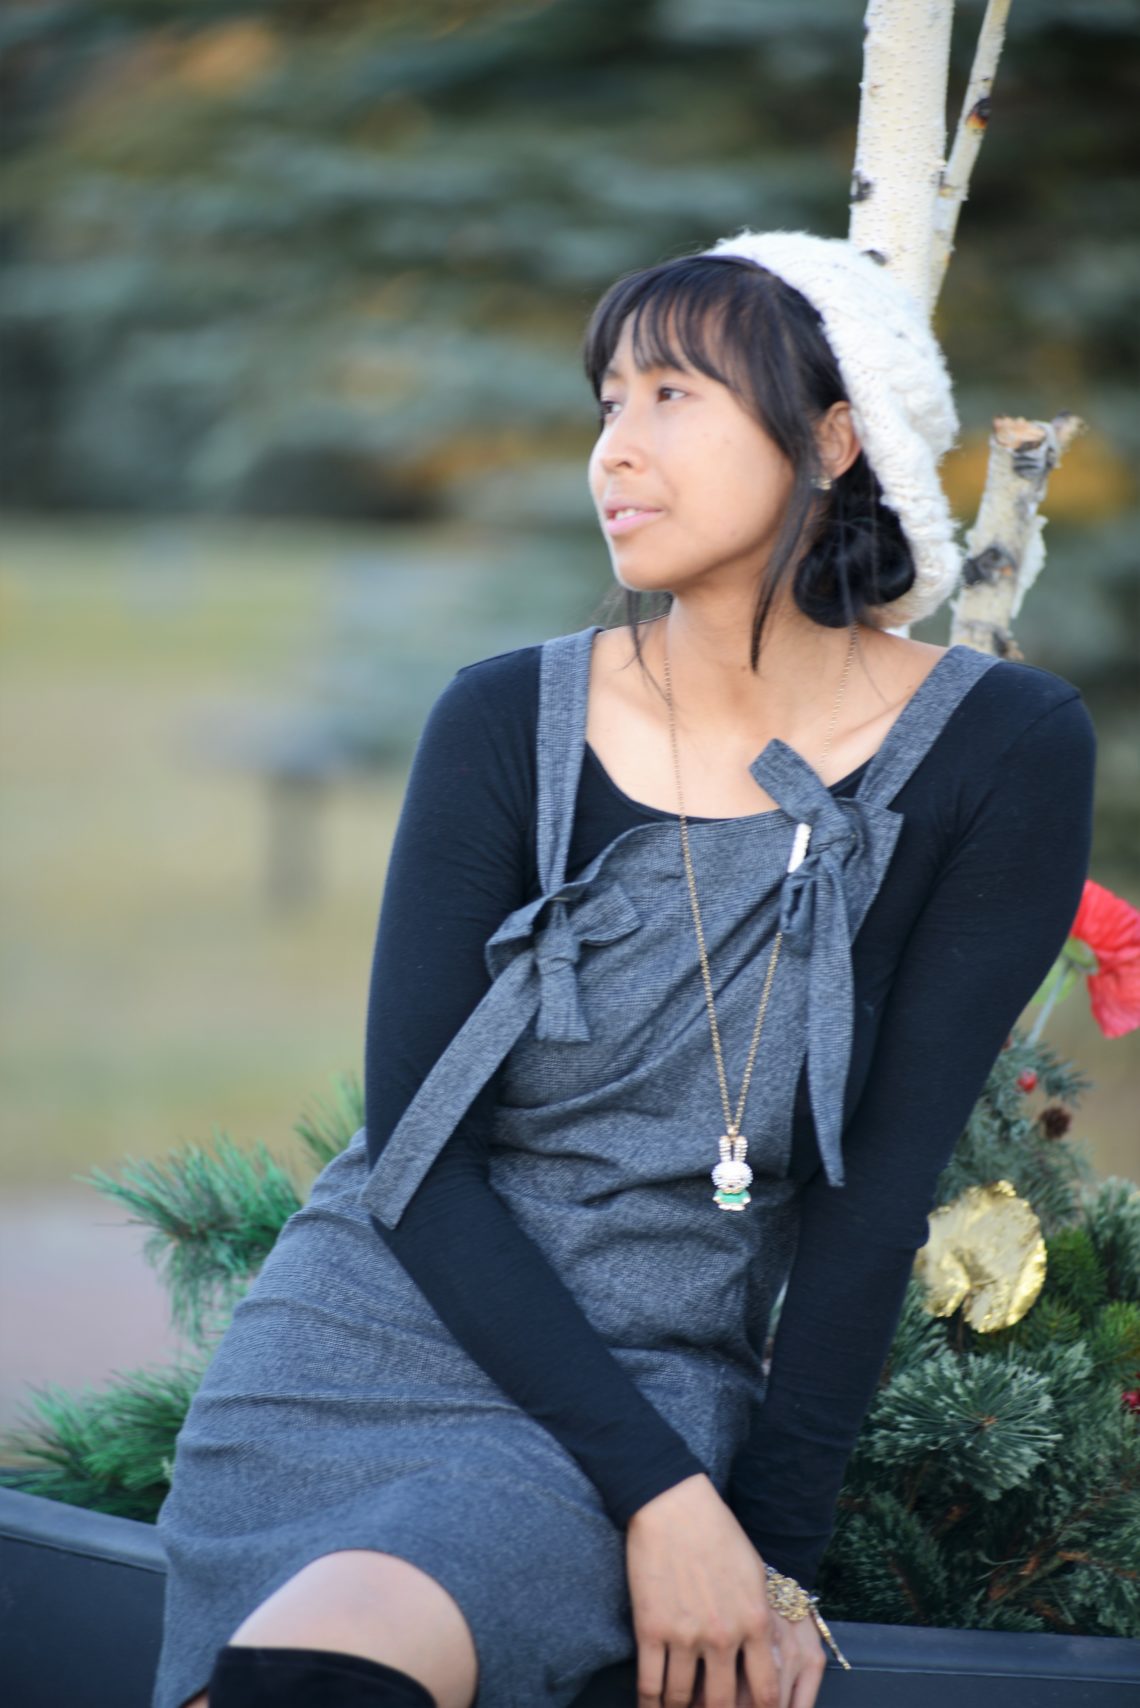
If you have a lot of pants just sitting in the closet, here’s one way you can give it a second life! Turn those pants into a smock dress! Smock dresses are generally worn in an art studio as an apron, but this is fashion!
How to turn pants into a smock dress for life:
Choose a pair of pants that are a few sizes too big; this will ensure that the finished dress will fit over your hips. I’m using a dress pant, with a plaid pattern.
To start, seam rip the waistband, side seams and inseam. Remove the side pockets. Do not seam rip the front or back crotch area. Crotch, is there a better term for this part of the pants? Please let me know.
You should now have the following pieces:
-
- Waistband
-
- Front pant
-
- Back pant
- A set of pockets (depending on the style of pants)
Let’s focus on the back pant for now. We are going to turn this into the front panel of the smock dress. There’s more fabric to work with. To do this we will need to sew the old inseams together.
To get it to lay flat when open, first fold the legs good sides together, you will see it as if it were one leg. Gently grab the top layer and unfold the legs. The fabric will show you how far to unfold the leg. It will lay flat to a certain degree. We want to essentially turn this into one piece. Once you have it laid out flat, pin up the inseam. We will be sewing this closed with a straight stitch. Flip the whole piece over and use the pins as reference to draw a line all the way up. This will be the sewing line. Sew and cut off the excess crotch/bum area.
Do the same to the front panel.
NOTE: The front panel will be used as the back and the back panel will become the front of the dress.
Working with the now new front panel, use the old bottom/hemmed part as the top. Yay, less work! Figure out how far across the chest the panel should be. I decided to make mine a total of 10 inches. For the curve/side seam of the panel, decide how far down you would like it to sit. I chose 11 inches. I chose this because I wanted it to sit on my waistline.
Before we cut anything, fold the front in half. Working from the (new/hemmed) top part measure the distance of the top by half of the total chest width. Ie. mine is 10 inches, so I will measure 5 inches from the centre seam (fold). We are currently working with half the garment, hence why we use half the measurement. Measure down the full distance from the top to where it will sit. Ie. I chose 11 inches, so It will be cut straight from the top to 11 down. Curve the bottom part using a curved ruler or some objects around the house.
Do the same for the new back panel. When creating the curve, make sure it matches up with the front panel. These side seams will be sewn together.
Decide on the length of the dress, from top to where ever you want it to sit. I wanted to use up as much as possible, so I cut as close as I could to the pockets (from the original back) and the zipper front. The back of the dress will be shorter due to the zipper front (from original front) taking up more fabric. Leaving as much fabric as possible will leave room for adjustments in the future.
Cut straight across. Make sure both front and back side seams line up.
It’s coming along!
Now for the straps. Remember the waistband we set aside? Deconstruct the entire thing by seam ripping it all. You will end up with two long pieces and some belt loops. We will use the long pieces. Make sure the strips are the same size. Iron them both out. One strap at a time, good sides together, fold them in half lengthwise, and sew along the edges. Do the same for the other strap.
Iron both pieces before turning them inside out. Make sure to open the seam, it doesn’t have to be perfect.
To make the strap, grab a safety pin and use it to pull the straps inside out. Pin one side, and guide it through the strap, from the inside. The beginning is always a bit difficult. Iron the straps down, making sure the seam is on one side. Clean finish both ends by tucking them in on themselves and sewing across the edges with a straight stitch.
Sew the straps to the top of the back. I sewed them in with an ‘X’ boxed in a box for reinforcements.
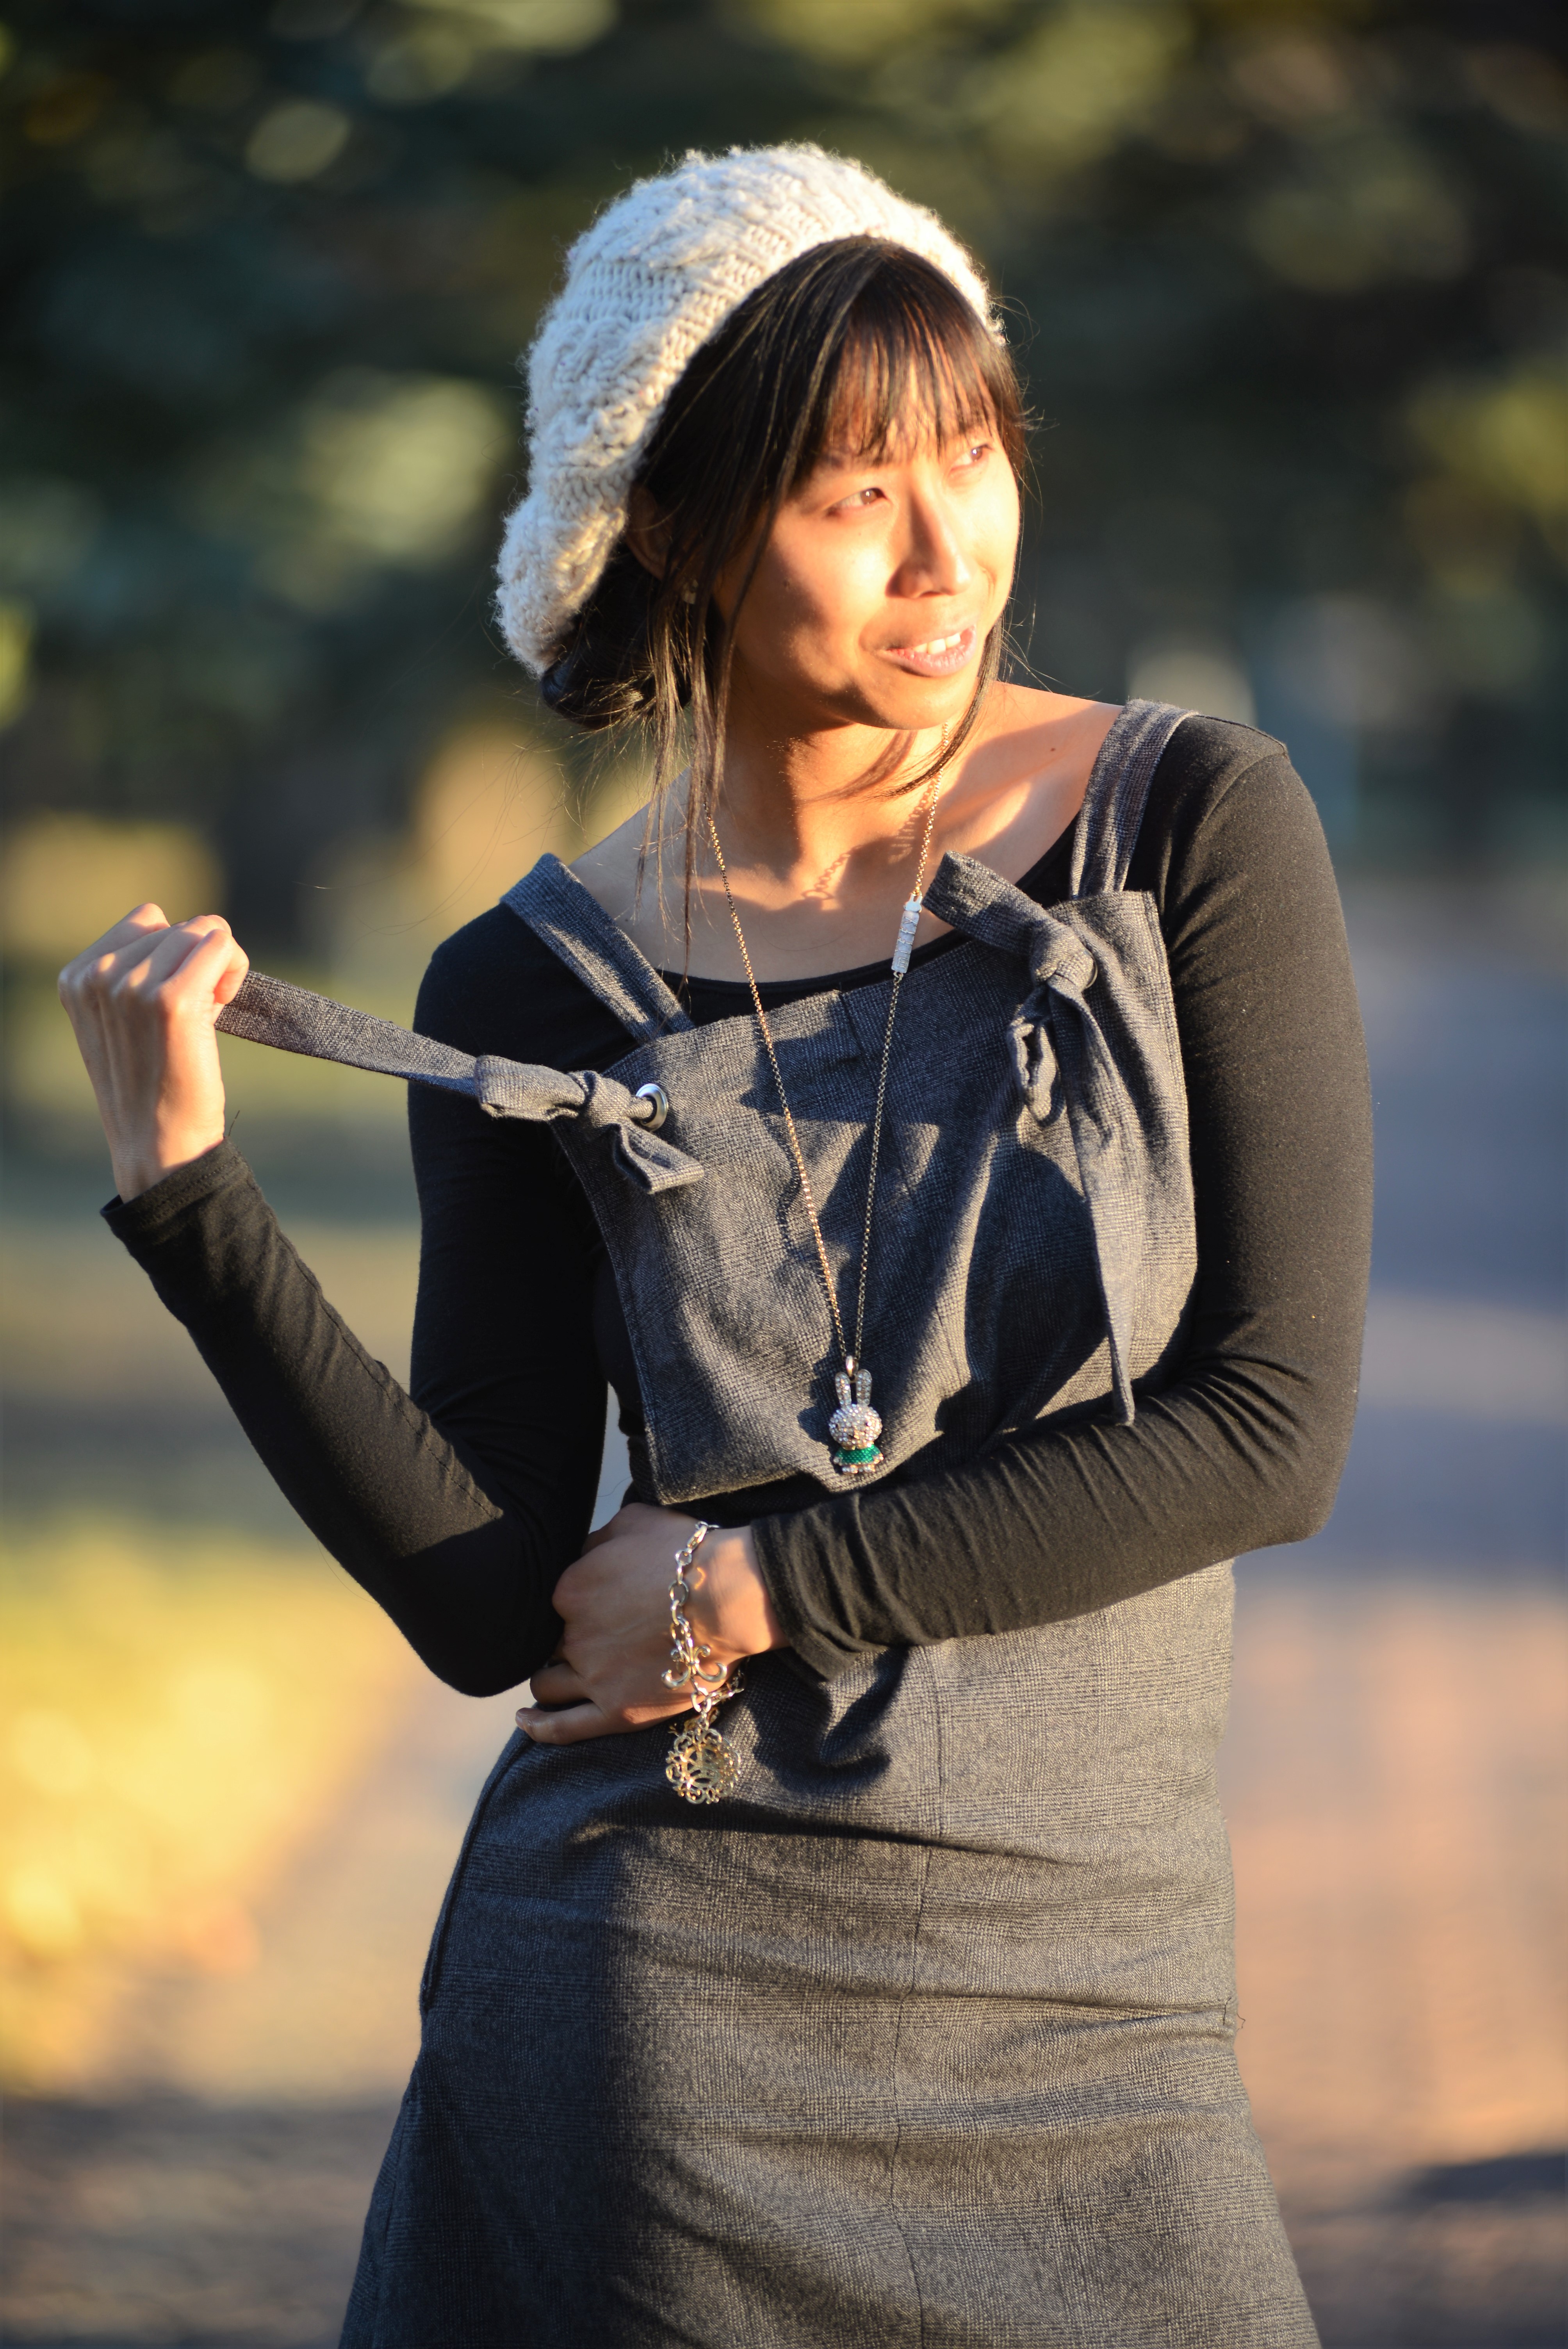
Using two grommets for the front, make sure they are big enough to thread the straps through, but not too big that the straps slip through them. Follow instructions on package.
Thread the straps through.
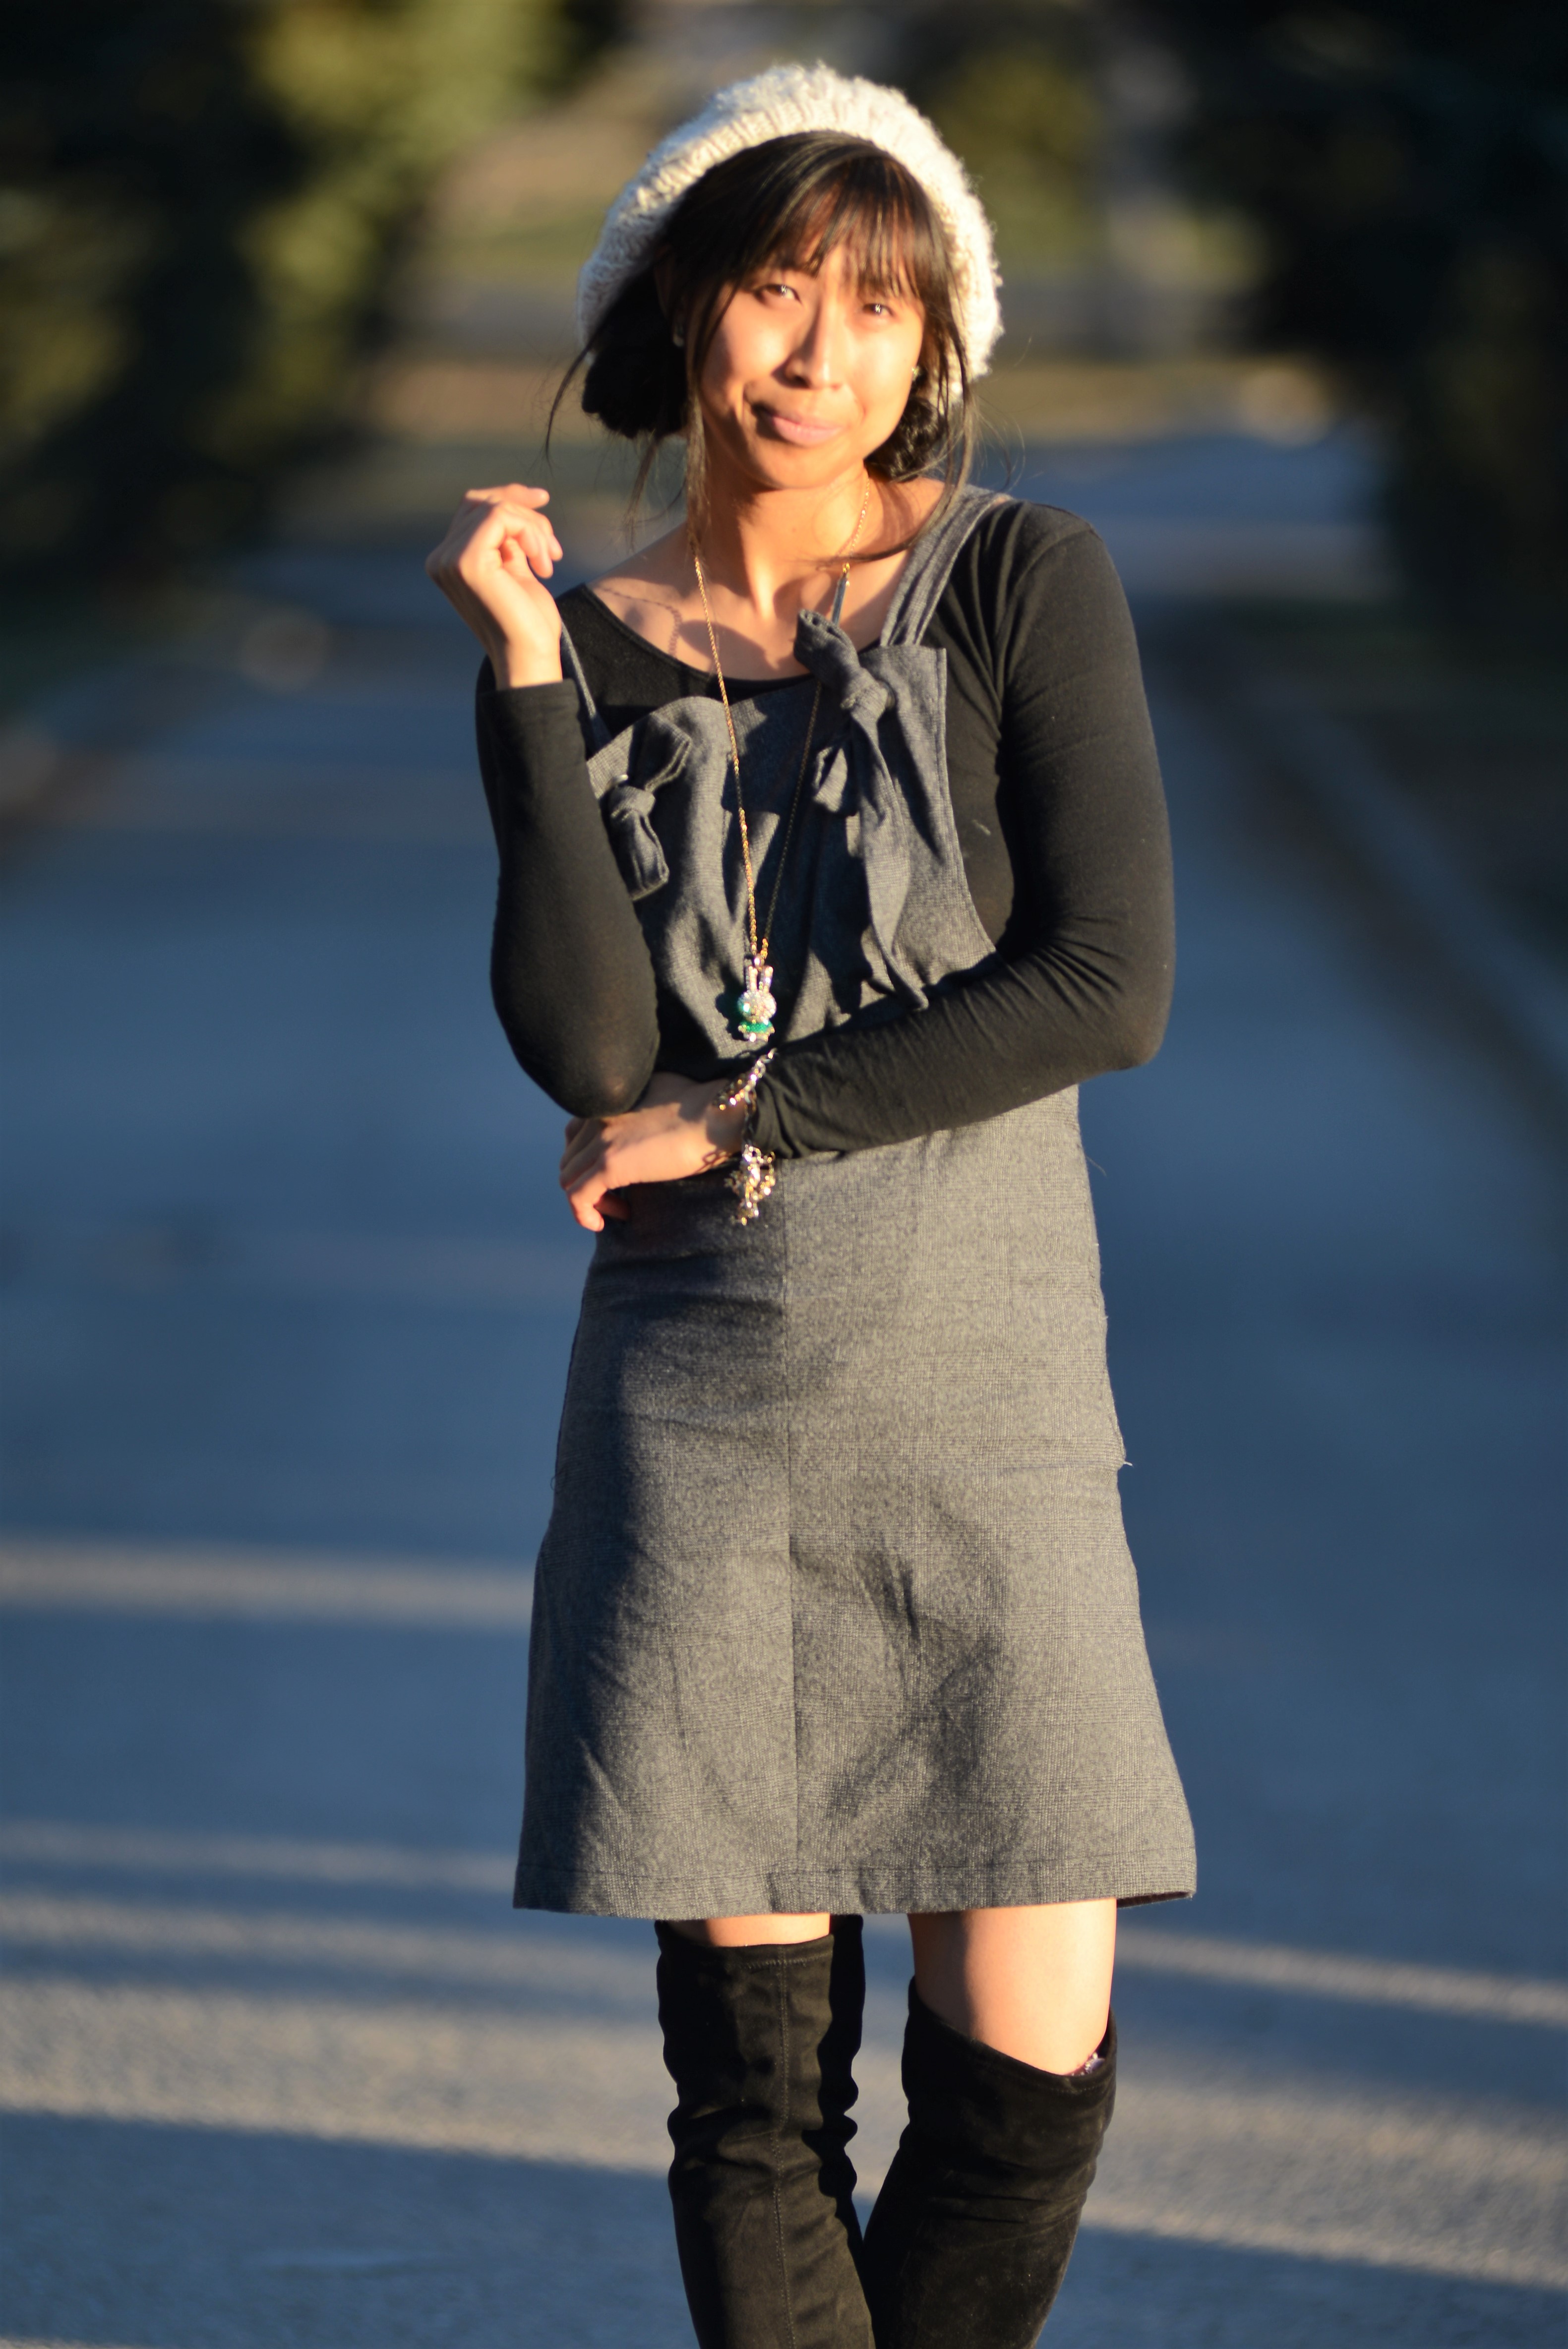
Last but not least, hemming. You decided where you wanted it to sit earlier, hem to this length.
Voila, a smock dress!!
I hope this was easy enough to make on your own, please let me know if there are any details I may have missed. If there is anything you want to see remade, comment below!
If you do make it, make sure to tag me with the #eccentralityremade
Love what you’ve got – Thanh

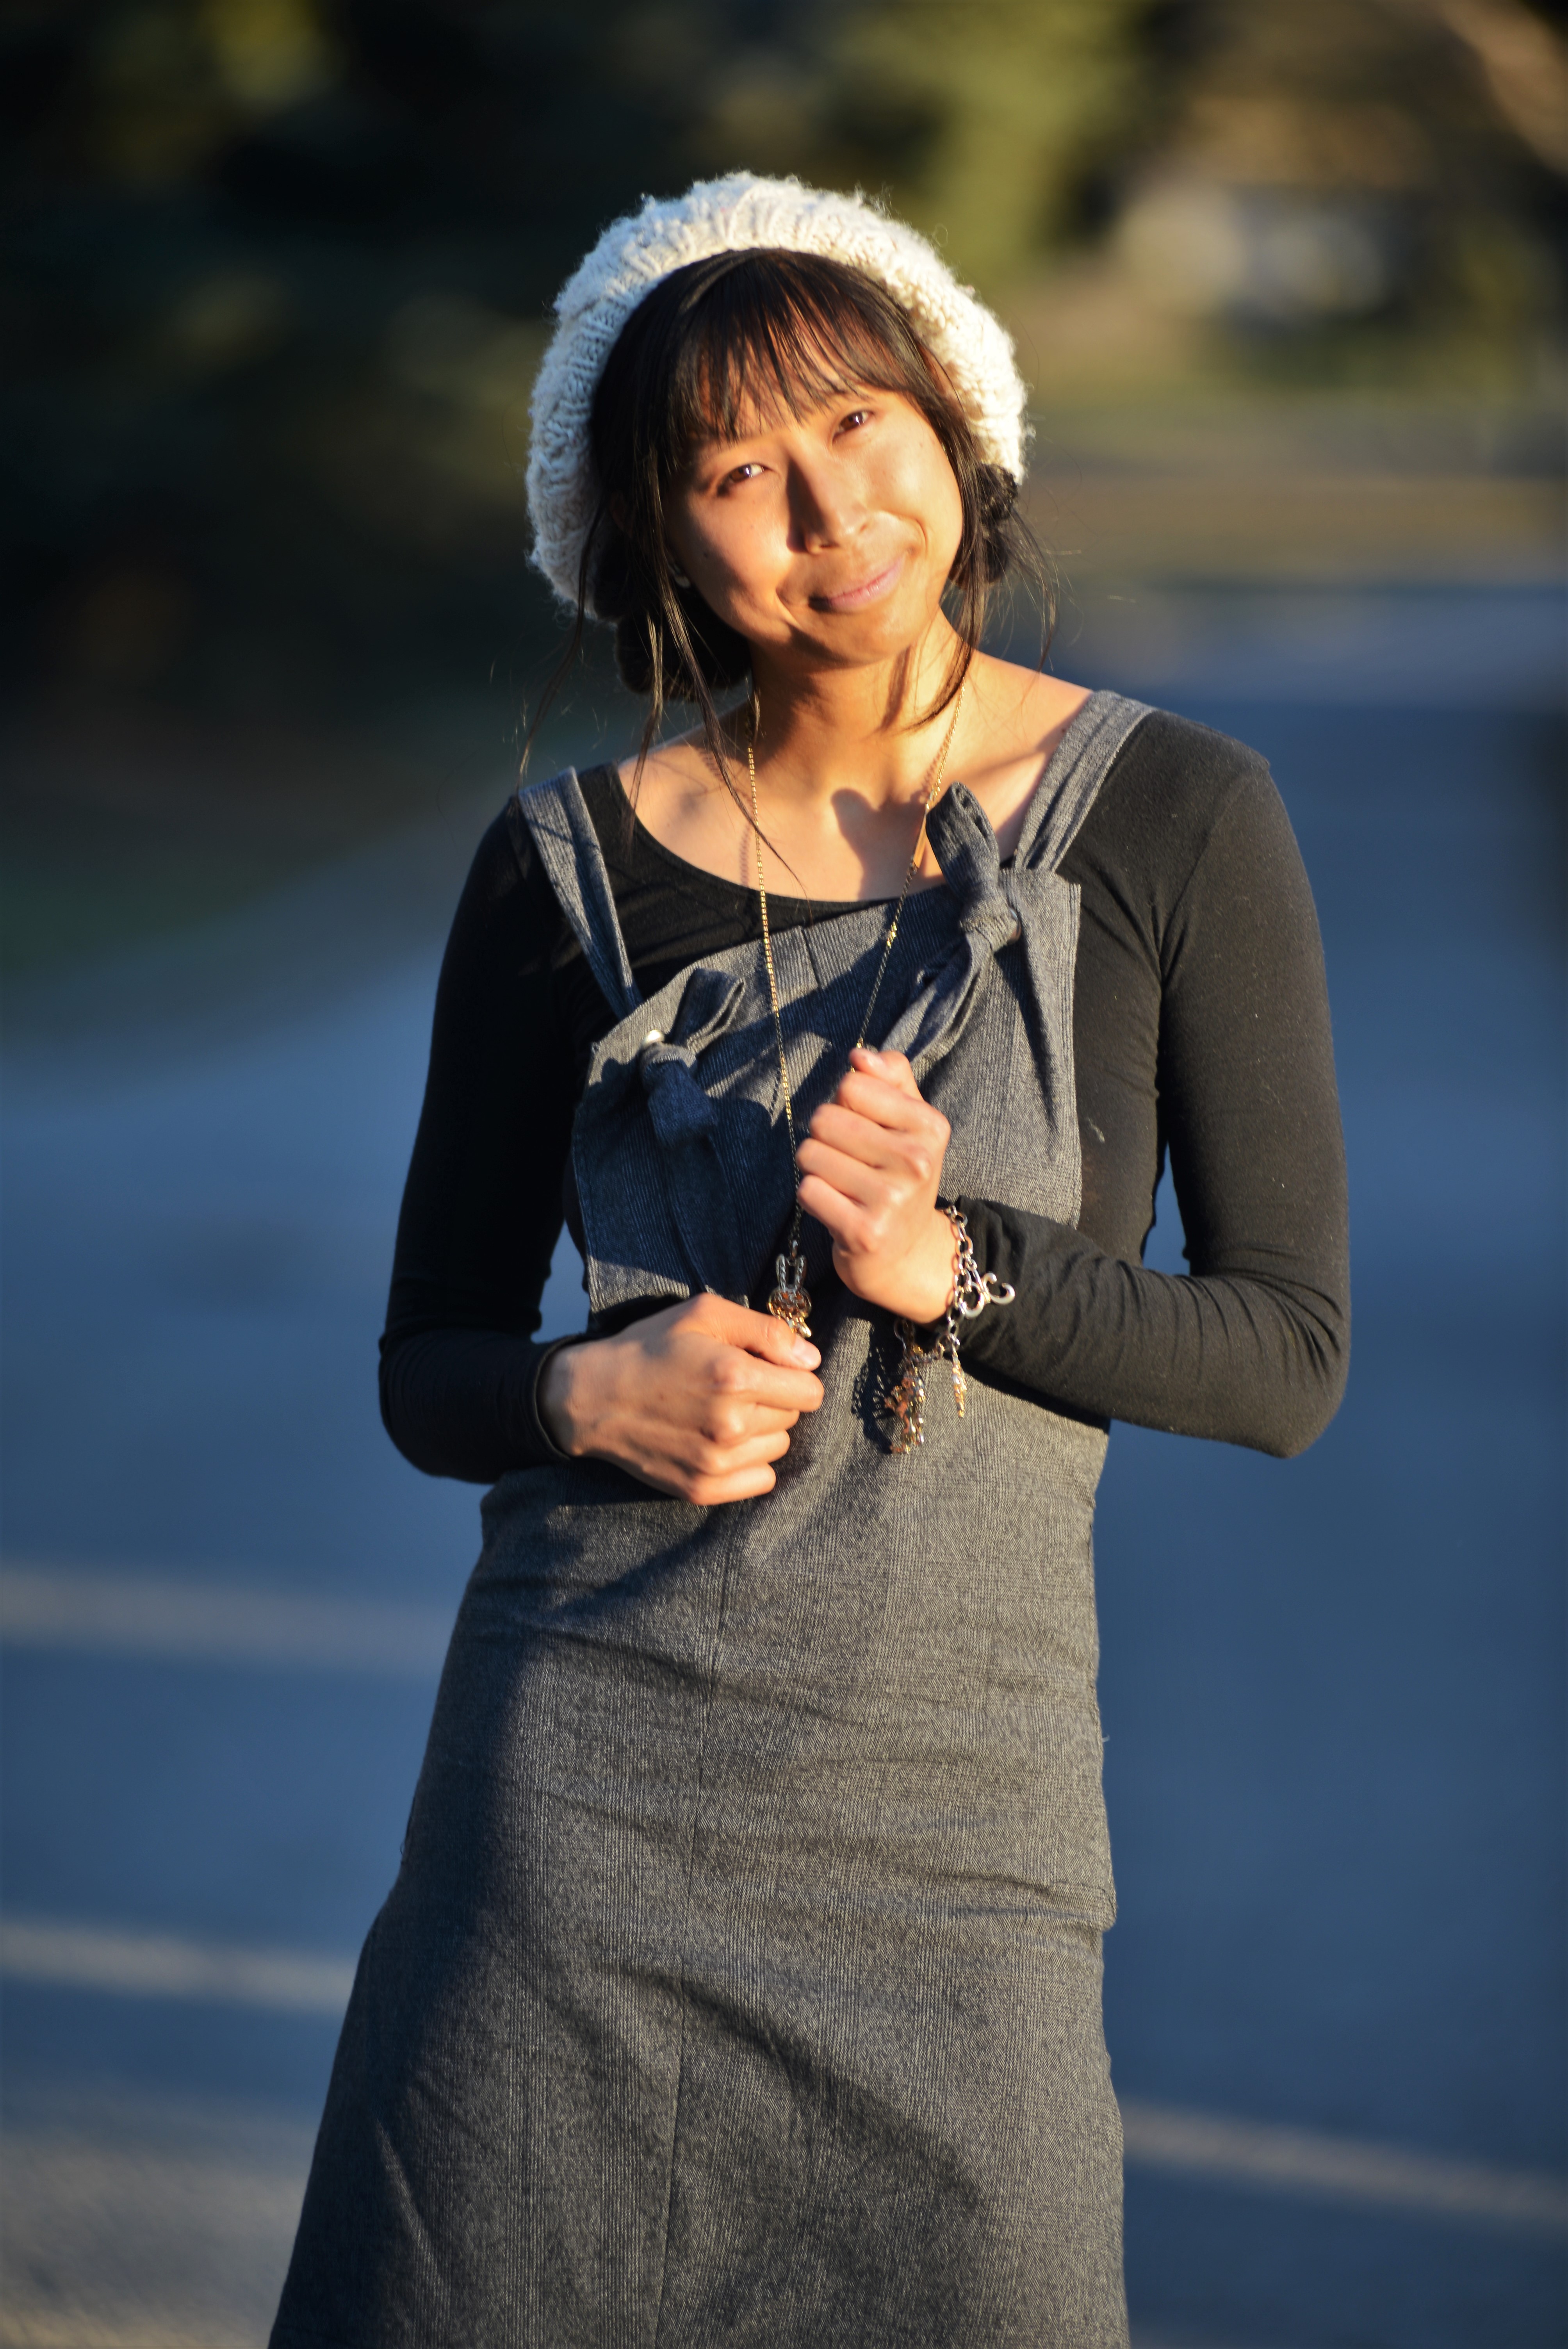

Photos – Mac Chehade
Pants – Zac
Editor – Melissa Martland


